
Home / Exterior Detailing / Complete Car Detailing Guide
COMPLETE GUIDE
Complete Car Detailing Guide
What auto detailing actually includes, how to detail a car in a safe sequence, and which car detailing steps are optional.
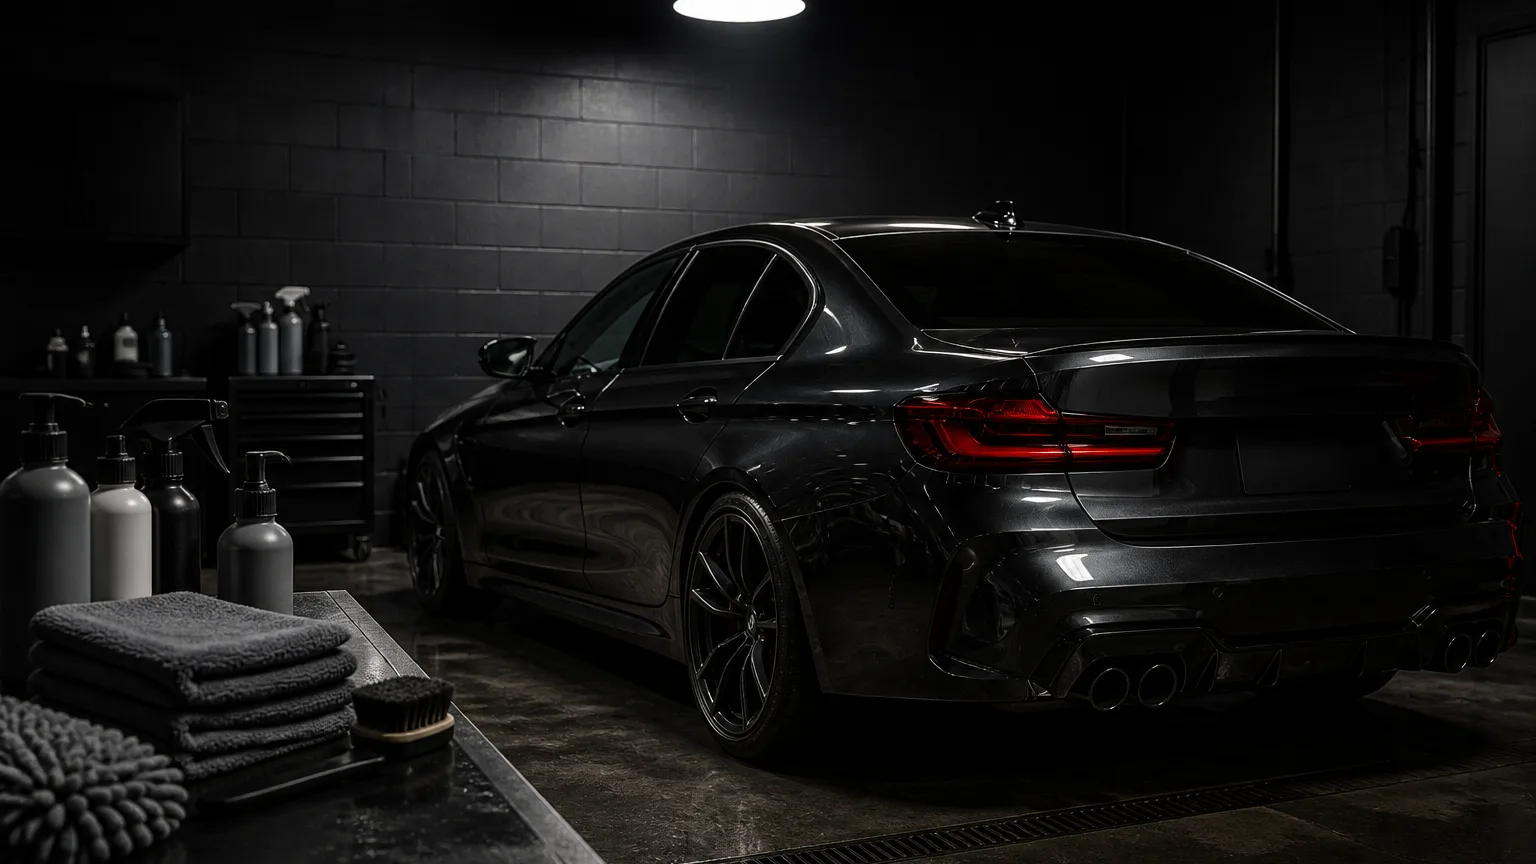
A basic wash removes loose dirt. Car detailing is a thorough clean and reconditioning of both the interior and the exterior — every accessible surface, not just the panels you can see from the driveway. Auto detailing is the same idea under another name. Packages vary shop to shop because the industry does not share one mandatory menu, so this guide describes a complete workflow you can adapt rather than a single branded “package.”
Use it to learn how to detail a car in a safe order: what to prepare, which car detailing steps belong in every visit, and which ones (clay, polish, a new coating) are condition-based. Product labels still override any generic recipe. For the Exterior Detailing category map, start at the Exterior Detailing hub.
What car detailing includes (and what a wash does not)
People often treat “wash” and “detail” as synonyms. They are not. A wash is contact cleaning of exterior paint (and usually wheels) to remove loose dirt. Detailing is a meticulous, step-by-step clean and reconditioning of the vehicle you actually live with: paint, glass, trim, wheels, and the cabin — including seams and surfaces a drive-through cycle never reaches.
That distinction matters. If you only needed soapy water, a wash article would be enough. A complete car detailing guide has to show the whole job, then tell you which modules are optional so you do not grind contaminants into clear coat or soak a headliner because a checklist said “do everything.”
Interior and exterior, not just soap
Expect every accessible surface to be assessed and cleaned, not only the hood and the driver’s seat. Exterior work typically covers paint, glass, plastic trim, wheels, and tires. Interior work typically covers carpets, seats, plastics, vinyl or leather, vents, and interior glass. Engine-bay work is optional and is its own risk profile (electronics, hot parts, product choice) — treat it as extra, not as proof that a detail “counts.” When the job is outside-only, the exterior detailing guide covers that narrower scope, sequence, and decision points without turning this guide into a second exterior-only article.
Time is a useful sanity check. A thorough detail is measured in hours, not minutes, and the clock moves with the vehicle’s condition. A daily driver with a light film of dust is a different job from a car that has sat under trees all summer. Anyone promising a “full detail” in the length of a lunch break is describing a wash with extra towels.
Why packages vary
There is no single industry standard for what a “detail” must include. Training, products, equipment, and how a shop names its tiers all change the menu. Some shops sell a wash-and-vacuum as a detail. Others will not use the word unless paint has been decontaminated and protected. Ask what will be done, in what order, and what is excluded. Do not assume a listed price elsewhere on the internet applies to your car or your city — cost belongs in a dedicated prices article, not in invented numbers here.
The International Detailing Association’s public explainer makes the same practical point: wash and detail are far apart, protection is not “set and forget” because a factory clear coat exists, and you should specify the work you actually want. Treat association cadence comments (for example, waxing painted surfaces a couple of times a year) as guidance to discuss with your products’ instructions, not as a warranty.
What to prepare before you start
Conditions that keep paint safer
Work on cool panels out of direct sun. Hot paint dries soap into spots and tempts you to scrub harder — which is how wash-induced swirl marks start. If you can choose, use shade, a garage, or a cooler part of the day. Rinse water should be able to sheet; if you are fighting evaporation on every panel, stop and change conditions rather than “powering through.”
Give yourself a real block of time. Rushing skips the pre-rinse, reuses a dirty mitt, or jumps to clay on paint that is still gritty. Those shortcuts are more expensive than waiting for better weather.
Tools and product labels
You do not need a studio full of machines for a competent DIY detail. You do need dedicated tools so wheel grit never shares a mitt with paint:
- Two buckets (soap and rinse), ideally with grit guards
- A plush microfiber wash mitt and a separate wheel brush or wheel mitt
- pH-neutral car wash soap — not dish soap, which is built to strip oils
- Clean microfiber drying towels (or a dedicated dryer/blower if you already own one)
- Interior vacuum with crevice tools, surface-appropriate interior cleaner, and a glass towel
- Chemical-resistant gloves and eye protection when a product label requires them
Prefer a ready-made complete detailing kit over shopping each category separately? That comparison lives in the Tools & Equipment section — this page stays on method and order.
Read the label on every bottle before it touches the car. Dilution, dwell time, substrate limits (paint vs. plastic vs. glass vs. coated finishes), and rinse requirements are product-specific. This guide will not invent mixing ratios. If the label and a blog disagree, the label wins.
Caution
Do not mix cleaners, wheel acids, and iron removers “to make them stronger.” Follow each product’s manufacturer instructions, including rinse-off rules and surfaces to avoid. If a coating, wrap, PPF, or matte finish is on the car, use only chemistry that manufacturer lists as compatible.
A complete high-level workflow (why order matters)
Order is not snobbery. It is contamination control. Polish on dirty paint grinds grit. Clay on an unwashed car does the same. Interior liquids before a thorough vacuum turn dust into mud. Glass last prevents cleaner film on panels you just dressed.
A practical car detailing sequence looks like this. Items in italics are condition-based, not mandatory every visit:
- Unload the cabin, remove mats, and decide whether interior or exterior runs first. Many people wash first so they do not track grit into a cleaned interior; others do interior first so they are not sitting in a wet car. Pick one and stay consistent.
- Wheels, tires, and wheel wells with dedicated tools.
- Pre-rinse, optional foam pre-wash, then two-bucket contact wash, roof-down, straight lines.
- Final rinse and dry.
- Inspect paint with clean, dry hands (or a plastic bag over your hand). If it still feels rough, chemical decontamination and/or clay may be next — not automatically.
- Optional: polish / correction only if defects remain after the surface is clean and you have the skill, lighting, and product system for that paint.
- Protection matched to the surface you actually have (wax, sealant, or a coating system) after the paint is clean and dry.
- Interior: dry debris first, then surfaces top-down, then seats/carpets, glass last.
- Final walk-around: missed trim, door jambs, mirrors, lights.
Separate guides go deeper on exterior-only process, prices, decontamination, clay, spot contaminants, scratches, and protection products. This guide stays at workflow level.
Exterior: wheels, pre-wash, two-bucket wash, dry
Wheels and lower panels as dirtier zones
Brake dust and road film concentrate on wheels and the lower third of the body. Clean those zones with tools that will never go back onto the roof mitt. If a wheel cleaner is on the label for coated or polished wheels only, believe it. Rinse thoroughly so chemistry does not dry on hot metal.
Do not start a contact wash at the bumper and work up. That drags the dirtiest water onto cleaner paint. Pre-rinse the whole vehicle first so the mitt is not scraping loose grit on pass one.
Two-bucket contact wash
The two-bucket method exists because a single bucket turns into liquid sandpaper. After a panel, the mitt dumps grit into the soap. The next panel paints that grit across clear coat. A second bucket of plain water is there so you rinse the mitt before you reload soap. A grit guard at the bottom keeps settled particles from coming back up.
Load the mitt from the soap bucket. Wash one panel at a time, roof toward the lower body, in straight lines along the panel — not circles. Circles repeatedly drag the same particles in a swirl pattern. After the panel, rinse the mitt in the clean bucket, wring, and only then go back to soap. If rinse water looks like tea, change it. Foam or a pre-wash soap film before contact is optional; it is useful because it lifts loose dirt so the mitt meets less grit. It does not replace the rinse bucket.
pH-neutral car wash soap is the default for painted, waxed, sealed, or ceramic-coated finishes unless a specific coating manufacturer says otherwise. Acidic “heavy duty” soaps can dull protection. If the vehicle already has a ceramic coating, treat the wash as maintenance of that system: still two buckets, still a clean mitt, still chemistry the coating maker allows.
Rinse and dry
Rinse top to bottom until the soap is gone, including jambs if you opened doors. Dry with a dedicated towel in straight passes, or use filtered air if you have it. Circular rubbing at the drying stage reintroduces the swirls the wash was designed to avoid. A drying aid or quick detailer is optional lubrication for the towel; it is not a substitute for having actually rinsed.
Decontamination overview (as-needed, not every visit)
A correct wash removes loose dirt. Bonded contamination — industrial fallout, embedded grit, some sap and tar films — can remain. You feel it as roughness after the paint is clean and dry. If the panel already feels like glass, skip clay for this visit. Claying smooth paint “because the internet said so” is extra abrasion you did not need.
When decontamination is justified, the usual professional order is chemical first (for example an iron-fallout remover labeled for paint), then mechanical clay or a synthetic clay pad, then a rinse or light wash to remove residue. For the focused clay-bar method on already-washed paint, see our How to Clay Bar a Car guide — not a full procedure repeat on this page. That chemical step is product-specific: dwell, color-change cues, and rinse rules live on the bottle. For the broader decontamination overview, including when to stop, see the paint decontamination guide.
Clay, safely
Wash and dry first. Keep the bar or pad soaking in a dedicated clay lubricant — never clay dry paint. Light pressure, back and forth, then knead to a clean face. If traditional clay hits the ground, throw it away; grit in the bar will scratch. Clay does not remove scratches. On a ceramic coating, treat clay as not recommended unless that coating’s manufacturer says otherwise.
Optional paint correction — a decision, not a default
Polish removes a thin layer of clear coat to reduce the appearance of swirls and holograms. It is not a cleaner. It is not clay. It does not belong on a car that is still contaminated. If the paint looks acceptable after a proper wash and (if needed) decontamination, you can protect and stop. That is still a complete detail for that visit.
Correction is the right next step only when defects remain, lighting is honest (not just a phone flash in a dim garage), and you are willing to follow a pad/compound system designed for that paint. Machine technique, pad choice, and how far to push a clear coat are their own discipline. For classifying scratches and realistic DIY paths—not a full correction course on this page—see our Car Scratch Removal Guide, including when DIY should stop and a professional paint-correction job should start. Do not use toothpaste, kitchen abrasives, or “cutting compound” of unknown grit on modern clear coat because a video made it look easy.
Protection overview (wax, sealant, coating)
Protection goes on last for a reason: it locks in the surface you already cleaned. Putting wax on bonded grit just seals the grit. Factory clear coat is not a substitute for a sacrificial or durable top layer; it still weathers. What you choose — paste wax, a synthetic sealant, a spray ceramic, or a professionally installed coating — depends on how you wash, how long you want the layer to last, and whether you will maintain it. For the wax vs sealant vs ceramic-spray decision, see Car Wax, Sealant & Ceramic Spray Basics. A professionally installed coating is a different system. Here, the rule is simpler: only protect paint that is clean, dry, and cool, and only with a product whose label matches the surface (including existing coatings).
The International Detailing Association notes that many programs still talk about waxing painted surfaces a couple of times a year. Treat that as a reminder that protection is recurring, not as a durability claim for any one bottle. Coating manufacturers often want pH-neutral maintenance washes and forbid harsh acids. Follow that system, not a generic internet stack.
Interior overview (top-down, glass last)
A complete auto detailing job includes the cabin, but the interior is its own set of techniques. This guide only sets order and caution so you do not ruin plastics or leave the car smelling like solvent.
Remove trash and floor mats first. Vacuum dry dirt from high surfaces toward the carpet so you are not turning dust into mud. Then clean hard surfaces — dash, console, door cards — with a cleaner meant for those materials. Spray the towel, not the windshield, to keep overspray off glass. Cloth seats and carpets need controlled moisture; leather needs a cleaner made for leather, then conditioner only on clean, dry hide. Skip oily dressings on the steering wheel and pedals; slip is a safety problem, not a finish.
Interior glass last, with a towel reserved for glass. If you clean glass in the middle, every later product fogs it. Deep extraction, odor bombs, and leather restoration are later interior articles — not a requirement for every visit.
Common mistakes and surface cautions
- Washing in a single bucket, or skipping the pre-rinse, so the mitt carries grit.
- Circular scrubbing on paint, including while drying.
- Using the paint mitt on wheels, or a wheel brush on a headlight lens.
- Dish soap or household degreasers on clear coat and trim.
- Claying dirty or dry paint, or continuing after clay is dropped.
- Polishing as a “wash booster” on contaminated paint.
- Mixing chemicals, or leaving wheel acid to dry.
- Silicone shine on controls you hold.
- Assuming a ceramic coating means you can skip technique — coatings still want a clean two-bucket wash.
DIY vs professional detailing (no fabricated prices)
DIY is a good fit when the car is in ordinary daily-driver condition, you can work in shade, and you will follow labels. It is also how you learn which steps you actually need so you do not buy a “full correction” you cannot see in daylight.
A professional is the better call when paint is heavily swirled or oxidized, when you want a coating with a documented process and indoor lighting, when the interior has mold, flood history, or unknown stains, or when you do not have time measured in hours. Quotes vary with vehicle size, condition, and local labor — this page will not invent a national price list. For what those numbers depend on, and how to read a written scope, use the car detailing cost and pricing guide. When you compare shops, compare the written process (wash method, decontamination, whether correction is included, what protection is used) rather than a single number on a social post.
Maintenance and next-step checklist
Between full details, a two-bucket (or rinseless, if that is your labeled system) wash on cool paint is the habit that prevents the next job from becoming a rescue. Remove bird droppings, sap, and bugs when you can do so safely with a product meant for that soil — dwell and wipe rules are on the bottle, and aggressive scraping is how you add scratches. Interior: empty trash, vacuum grit, and keep a dedicated glass towel in the car.
Use this as a visit checklist, not as a demand to do every module every time:
- Shade, cool paint, labels read.
- Wheels with dedicated tools; pre-rinse; two-bucket contact wash; dry in straight lines.
- Feel the paint. Decontaminate only if it is still rough.
- Polish only if defects remain and you accept clear-coat removal.
- Protect clean, dry paint with a compatible product.
- Interior top-down; glass last.
- Walk-around: jambs, mirrors, lights, mats back in dry.
The Exterior Detailing hub is the category home for washing, decontamination, and protection topics.
FAQ
Is car detailing the same as a car wash?
No. A wash is one module. Detailing is a thorough clean and reconditioning of interior and exterior surfaces. Some shops still sell a wash-and-vacuum under the word “detail,” which is why you ask for the process, not the label.
What are the core car detailing steps?
Prepare the space and tools; clean wheels with dedicated tools; pre-rinse; two-bucket wash; dry; inspect; decontaminate only if needed; optionally polish; protect; then interior top-down with glass last. Interior can run before the wash if you prefer not to sit in a wet cabin — pick one order and avoid tracking grit onto cleaned carpets.
Do I have to clay and polish every time?
No. Those steps are condition-based. Clay when clean paint still feels rough. Polish when defects remain after the surface is actually clean and you have a reason to remove clear coat. Many solid details end at wash, dry, and protection.
Can I clay a ceramic coating?
Treat clay over a ceramic coating as not recommended unless the coating manufacturer explicitly allows a named method. Maintenance is usually a pH-neutral wash and whatever chemical decontamination that maker documents. Guessing with a bar is how coatings get marring they did not need.
Continue in Exterior Detailing
This guide is the wide map: what car detailing includes, how to detail a car without grinding dirt into paint, and which car detailing steps you can skip on a given day. For the category landing and the rest of the exterior guides, go back to Exterior Detailing.